
Spring is in the air, and we’re ready to start planting! We’ve written about spring garden prep in the past, but this year we want to go a little further into detail to help you get the best possible performance from your plants this year. The true secret to getting big, beautiful plants and juicy, crisp veggies is all in the soil—so here’s how you can get yours ready for your best gardening season yet!
Before You Begin
Make sure your garden soil is dry enough to be worked before you begin prepping your spring garden beds. To do this, push aside the top 2-3 inches of soil in a small section of your garden bed and grab a handful of the soil that’s been sitting beneath. Give the soil a squeeze, then loosen your grip. If the soil crumbles and falls out of your hand, you can go ahead with your spring prep. If it feels spongy and clumps into a ball, the soil is still too wet and needs some more time to dry out. Test out several areas of your landscape; shadier areas often take a little while longer to dry out compared to sunny spots.
Testing Soil for Drainage
Just about every plant does best in well-draining soil, but what exactly does that mean? To check your soil for drainage, dig a hole a little more than a foot wide and a foot deep, then fill it to the top with water. Time how long it takes the water to drain.
- If the water drains in 10 minutes or less, the drainage is excellent.
- If the water drains between 11 minutes and one hour, the drainage could use some improvement.
- If the water is still sitting in the hole after 1 hour, the soil is in serious need of amending.
Slow-draining soil isn’t the end of the world; there are plenty of ways to improve structure and drainage. The best thing you can add to improve soil quality is organic matter like compost, which adds nutrients and absorbs moisture. To help water drain through the soil, mix in some sand as you add the compost. It’s best to add everything at the same time so you only need to disturb the soil once.

How to Test Your Soil
Aside from drainage, the soil’s pH balance and NPK ratios (symbolizing nitrogen, phosphorus, and potassium) have a strong impact on the performance of your plants. All plants have different preferences for the soil conditions they do best in, and matching the plant to the soil type is the key to healthy, beautiful growth.
Soil tests are the best way to find out for yourself what kind of soil you’re working with. You have a few options; you can pick up a few soil tests at Plant Perfect to test your soil yourself, or you can take a sample and send it to the NDSU Soil Testing Lab.
We prefer to test soil ourselves, as it’s pretty easy and very interesting! Soil testing makes an awesome “science class” if you’ve got kids at home. The tests come with everything you need to figure out where your soil stands. Since soils can vary across most properties, we recommend testing a few areas of your garden and labeling each test for the most accurate readings. Once you see your results, you can choose plants that work for your conditions, or add soil amendments to tweak the balance.
Using Soil Amendments
If you’re relatively new to gardening, you might be wondering why you’d want to change something like soil acidity. Most people who amend their soil are either aiming to correct problem soil (for example, soil that is extremely acidic) or may want to plant some specific plants that have particular soil needs.
Soil amendments include anything that can be added to the soil to change the composition. This includes sand and compost, and can also include products like garden lime, which is a limestone powder used to reduce acidity in the soil.
Before investigating soil amendments, start with soil testing. Our team can recommend the best amendments for your garden based on your test results.
How to Mulch Correctly
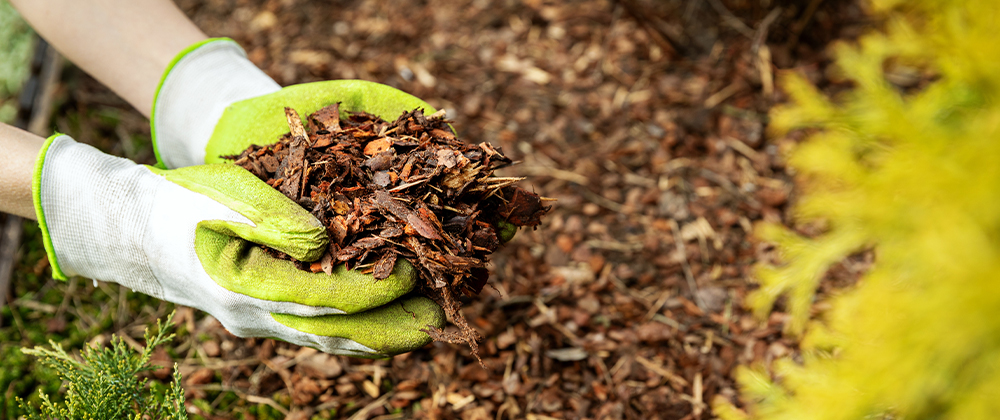
Mulch is any gardener’s best friend; it helps retain moisture in the soil and keeps weeds to a minimum. However, it’s important to use it the right way to get the full benefit!
If you’ve never used mulch before, apply a generous layer to the soil after you’ve prepared it but before you start planting. This will help prevent weeds from emerging before you start planting your bedding plants. Once you’ve got your plant plugs ready to go, move the mulch to the side to plant, and then put it back around the plant once it’s in place.
Make sure to place the mulch near the stem but not touching it—too much contact between your plants and your mulch can invite disease.
Why Should You Rotate Your Plants?
While we all have our favorite garden plants, avoid growing the same plants in the same place for more than two years in a row. Changing up the location of your plants throughout your garden is called rotation.
Rotating your plants is a key method of fighting disease. When a plant stays in the same place for too long, the nasty microbes that love to feast on that plant build up in the soil. Over time, this can cause a soil-borne disease problem and an uphill battle for you! By rotating your plants every year or two, you’ll keep diseases guessing while maintaining a healthier balance in the soil.
Make this year’s garden your best yet! Visit our garden center in Bismarck to browse our selection of plants, soil amendments, and more. We’re currently open for walk-in traffic in accordance with social distancing guidelines, and curbside pickup is also available.