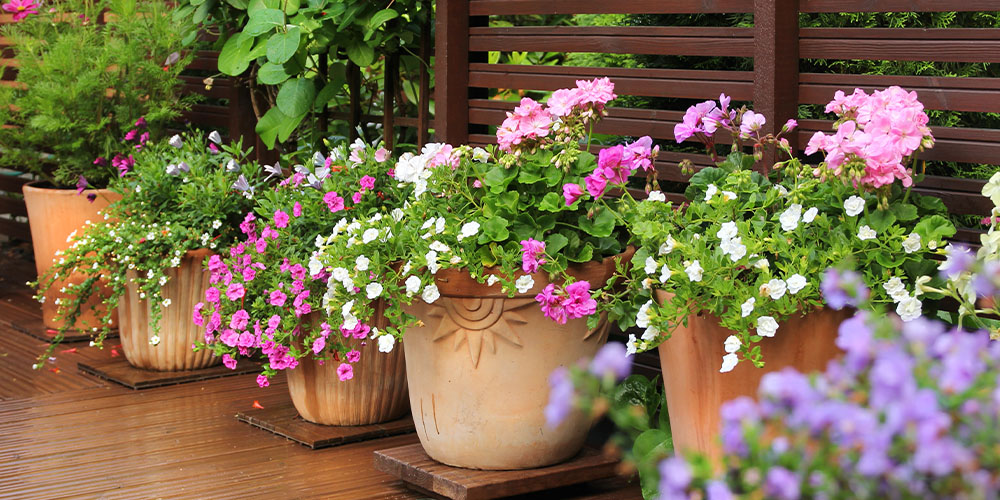
Whether you have a sprawling backyard that you are looking to add a little interest and depth to, or your growing space is limited to a relatively small balcony – container gardening is where it’s at! They add a certain layer and level of versatility to gardens, large and small. Containers and pots can be filled with spectacular blooming flowers, ornamental vegetables like cabbage and kale, or herbs that bring both beauty and mouthwatering scents to your garden. But, there are a few simple steps to take before you dive headfirst into planting. It is a relatively simple process, but a very important one. Follow our guide, and you’ll be well on your way to a beautiful container garden.
Getting Pots Prepared for Spring Planting 101
Your container gardens will grow bigger and better than ever this year if you take some time to prepare your pots for spring planting. Here’s how!
Give Your Planters, Pots, & Containers a Good Scrub
We like to reduce, reuse, and recycle in our gardens where we can. Garden pots and containers are a great way to do this. If your pots from the previous year are still in relatively good shape, there is no reason not to use them again! If you didn’t have time to clean them up in the fall, now is the time to do so. Cleaning and disinfecting planters, pots, and containers is an essential step of spring garden prep. Doing so will ensure that you eliminate any lurking diseases that could be problematic for your plants.
Disinfecting pots is a relatively simple step to prepare for a successful spring garden ahead of planting. Soak your pots in a solution that contains one part bleach to nine parts water for about 10 minutes. Then, submerge them in a solution of dish detergent and water solution.
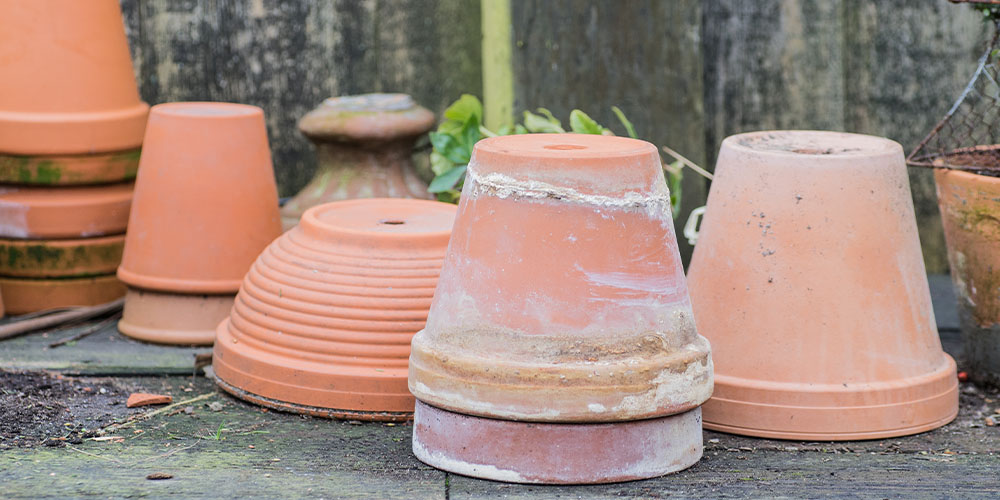
If you have clay pots, you can use a wire-bristle brush or steel wool to scrub off debris or mineral deposits. Once you have scraped away all of the stubborn leftovers from the prior year, rinse your clay pots off and leave them soaking in clean water until you’re ready to use them. Clay pots have the capacity to wick moisture away from potting soil, which can unknowingly dehydrate your newly potted plants.
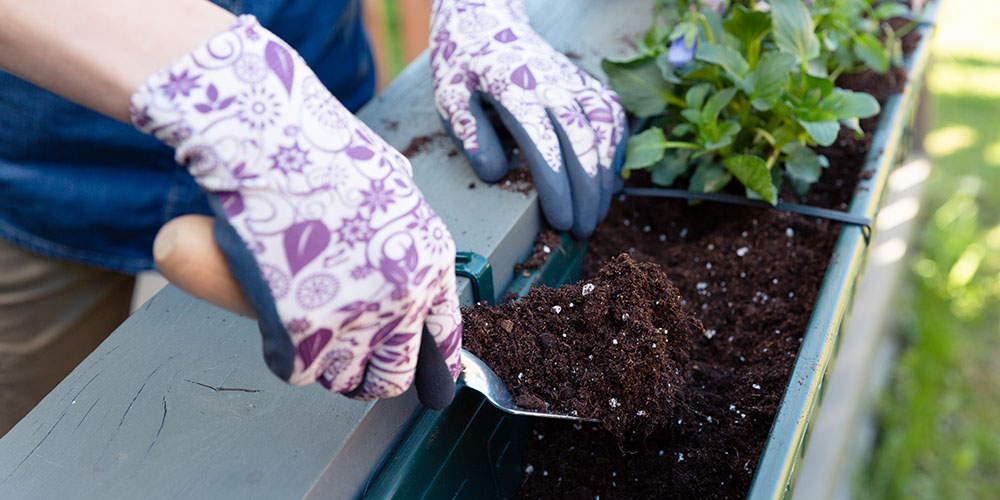
While it may be tempting to just dig some dirt right out of your garden as you prepare your pots for planting this spring, this is not the ideal medium.
Ensure That Your Pots Have Proper Drainage
The majority of ceramic pots that you purchase will come with drainage holes that allow excess water to drain out of the pot, in turn avoiding problems like root rot. While you prepare your pots for spring planting, it’s good to check that they are free of debris, which should be taken care of in the cleaning process!
If your pot already has drainage holes that are free of debris, placing them on a pot stand or feet will act as an extra measure to ensure proper drainage. If pots are not elevated, they can trap moisture and potentially cause damage or stain surfaces like decks or other porous surfaces like patio stones.
Some people suggest placing things like broken terracotta pots, styrofoam chips, or pebbles in the base of the pot to improve drainage, but this is not something that we would advise. It can actually compromise your plant’s root system. Generally, the only time you would add those pieces is if they’re larger-sized pots and you’d like to minimize their weight or minimize the amount of soil you’d use. This method is typically only used with outdoor containers standing three feet tall or so.
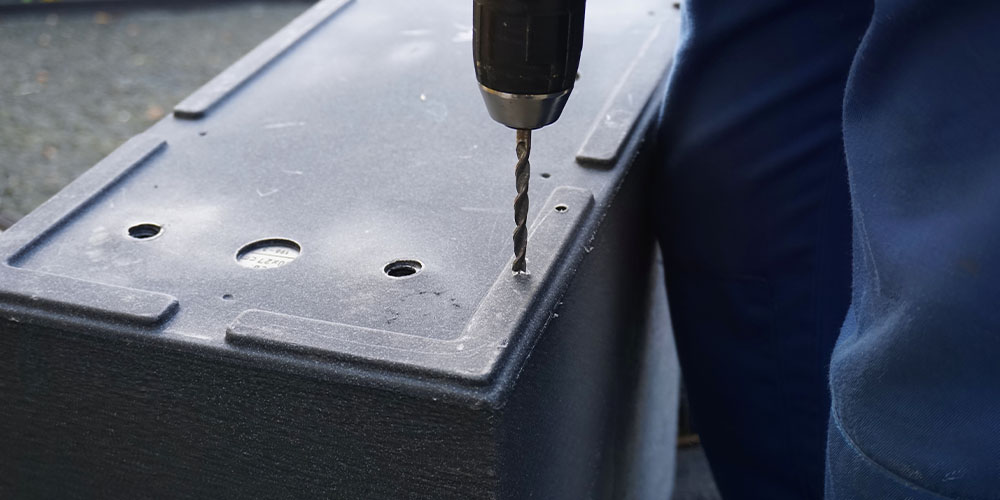
If by chance, you have purchased a new container or pot that does not already have drainage holes, it is easy to drill your own if you have the right tools on hand. The type of pot you have will determine what kind of drill bit you need. Look closely; some new plastic pots come with pre-cut drainage holes that need to be punched out with a screwdriver or knife.
Lining Your Pots Before Spring Planting
Clay pots, in particular, are quite vulnerable to frost damage and, as mentioned earlier, have the potential to dehydrate your plants because of how porous they are. A simple way to avoid this is by adding a plastic liner to your clay pots before adding soil as you prepare for planting this spring. If you use a plastic liner, remember to cut drainage holes in the bottom!
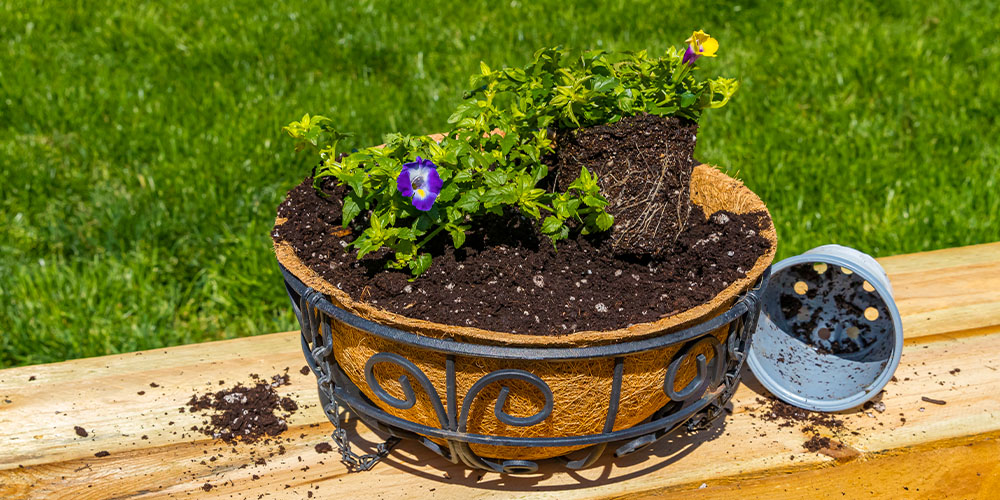
Sphagnum peat moss is another lining option that works well in wire or metal planters. Keep in mind, though, that once you have done your spring planting, that it can wick water out of the soil relatively quickly, so you may need to water plants in these pots a little more frequently than expected.
You may also want to utilize either a plastic or metal liner to keep those extra-special wooden planters, pots, or containers in tip-top shape. Otherwise, soil and water can cause them to rot.
Choose the Right Soil
While it may be tempting to just dig some dirt right out of your garden as you prepare your pots for planting this spring, this is not the ideal medium. Generally, container plants prefer being planted in a potting mix. Garden soil and topsoil tend to be a little too dense and can compact quite easily when used in containers.
Garden soil can also contain unwanted hitchhikers like pests and weed seeds that you don’t want infiltrating your container gardens. Ideally, you want to find a lighter mix that drains well and has enough organic material mixed in to retain water and nutrients.
Taking the time to prepare your pots properly for spring planting helps to ensure that your plants will be healthy and thriving throughout the entirety of the growing season. If you are looking for some new plant pots for spring, need to stock up on potting soil or any other tools this spring, be sure to stop by the garden center! We’d love to see you.